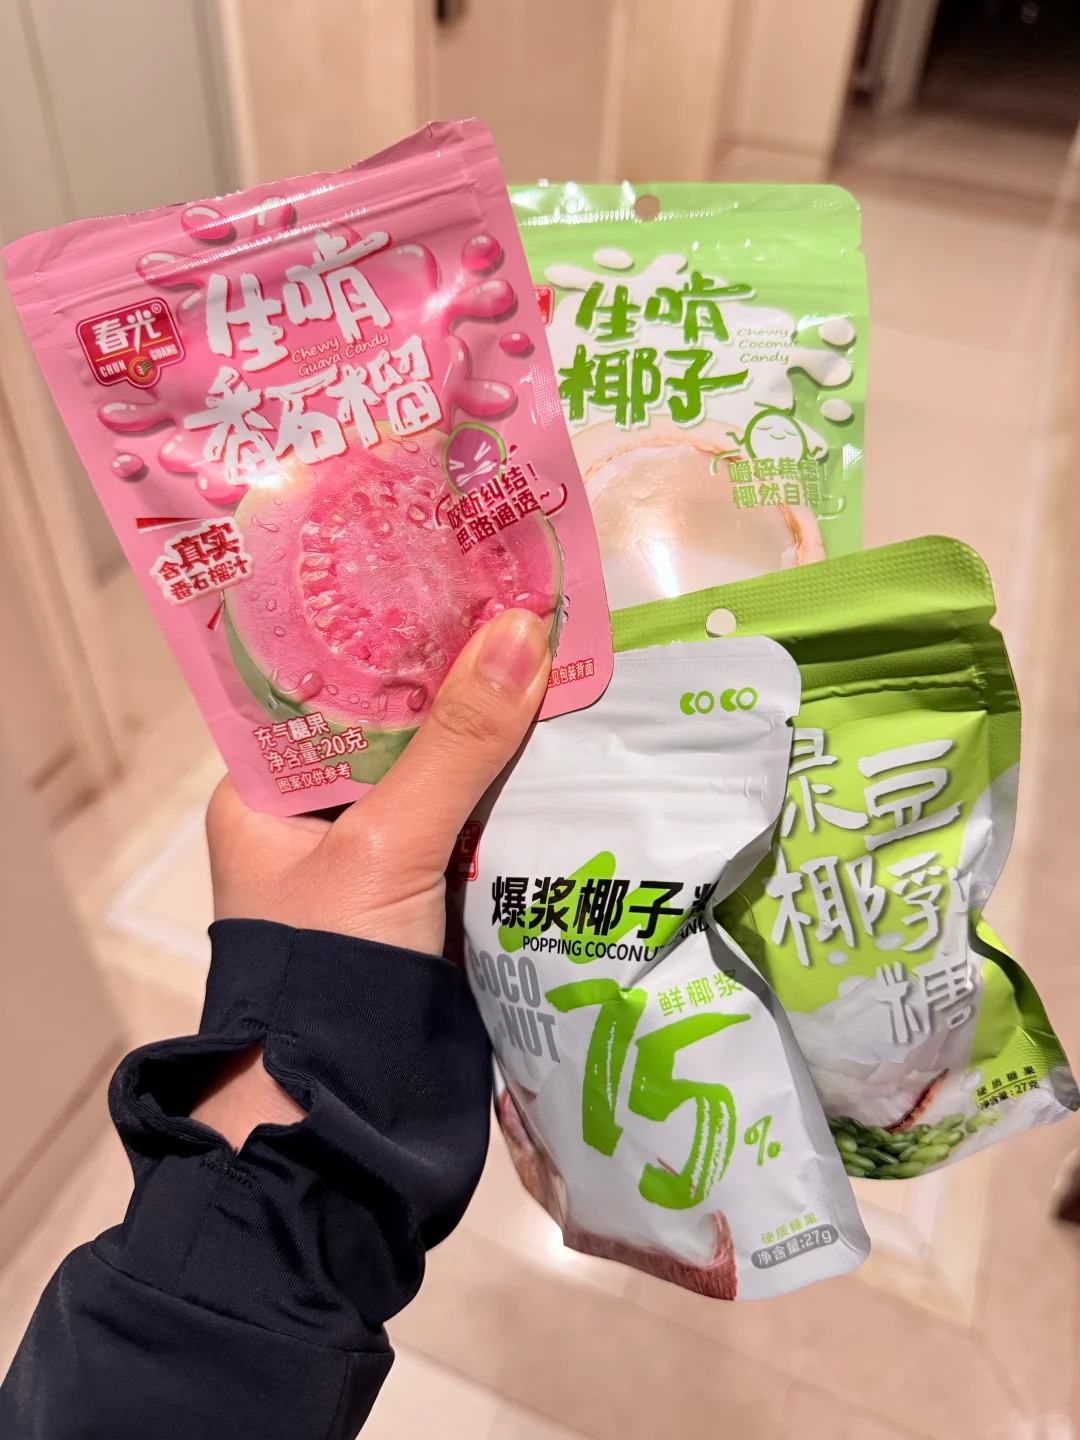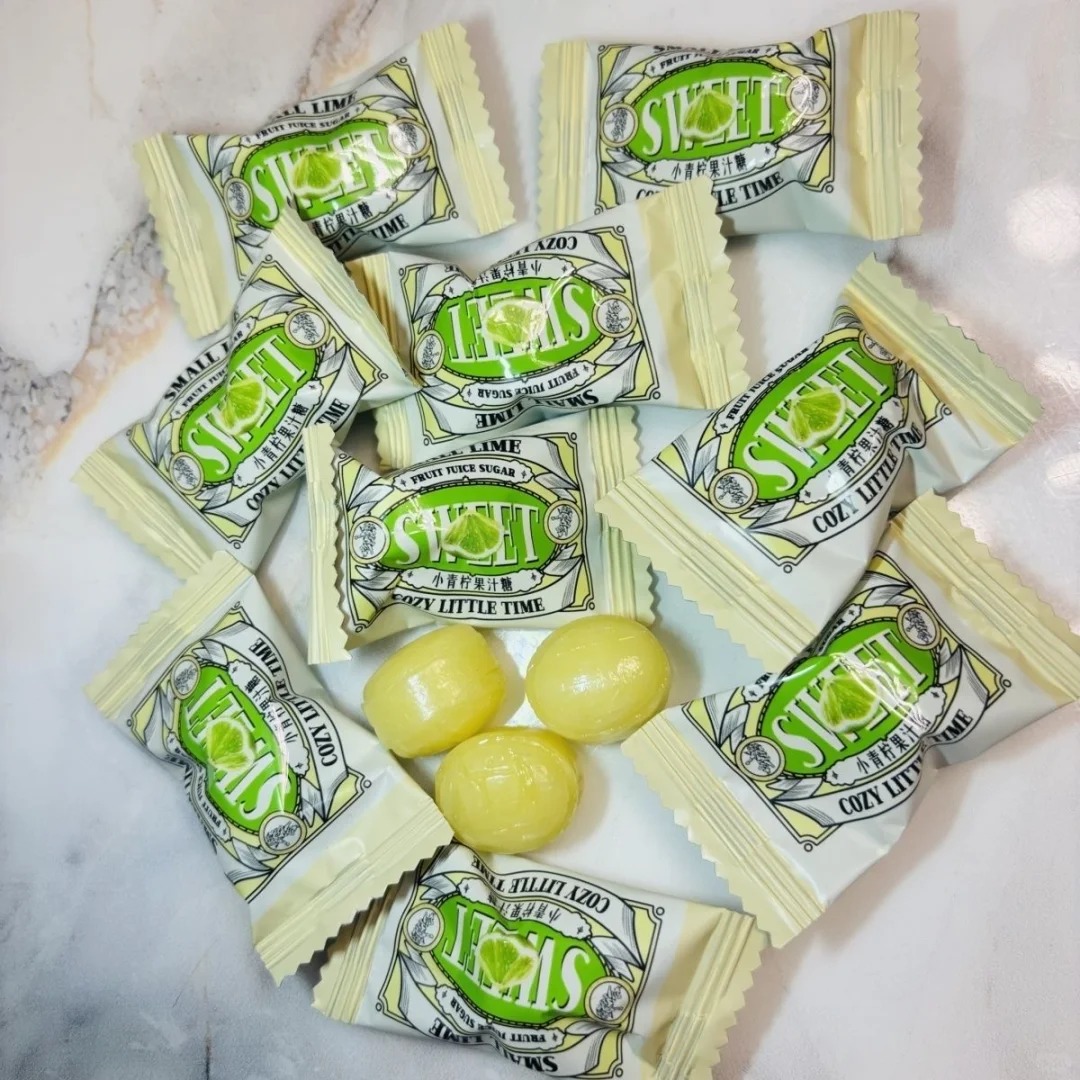
Good candy bags do more than catch shoppers’ eyes. They protect the products inside, suit the way they are sold, and make the candy easy to enjoy. Before choosing colors or artwork, start with the candy itself and the experience you want customers to have.
1. Understand What Your Candy Needs
Hard candies, gummies, and chocolates have different packaging needs. Some products may absorb moisture or stick together; others may be sensitive to light or temperature.
Start by asking: How long will the product be stored? Will customers open the bag more than once? Will it be sold in stores, shipped to customers, or included in gift sets? The answers will help narrow down the right packaging format.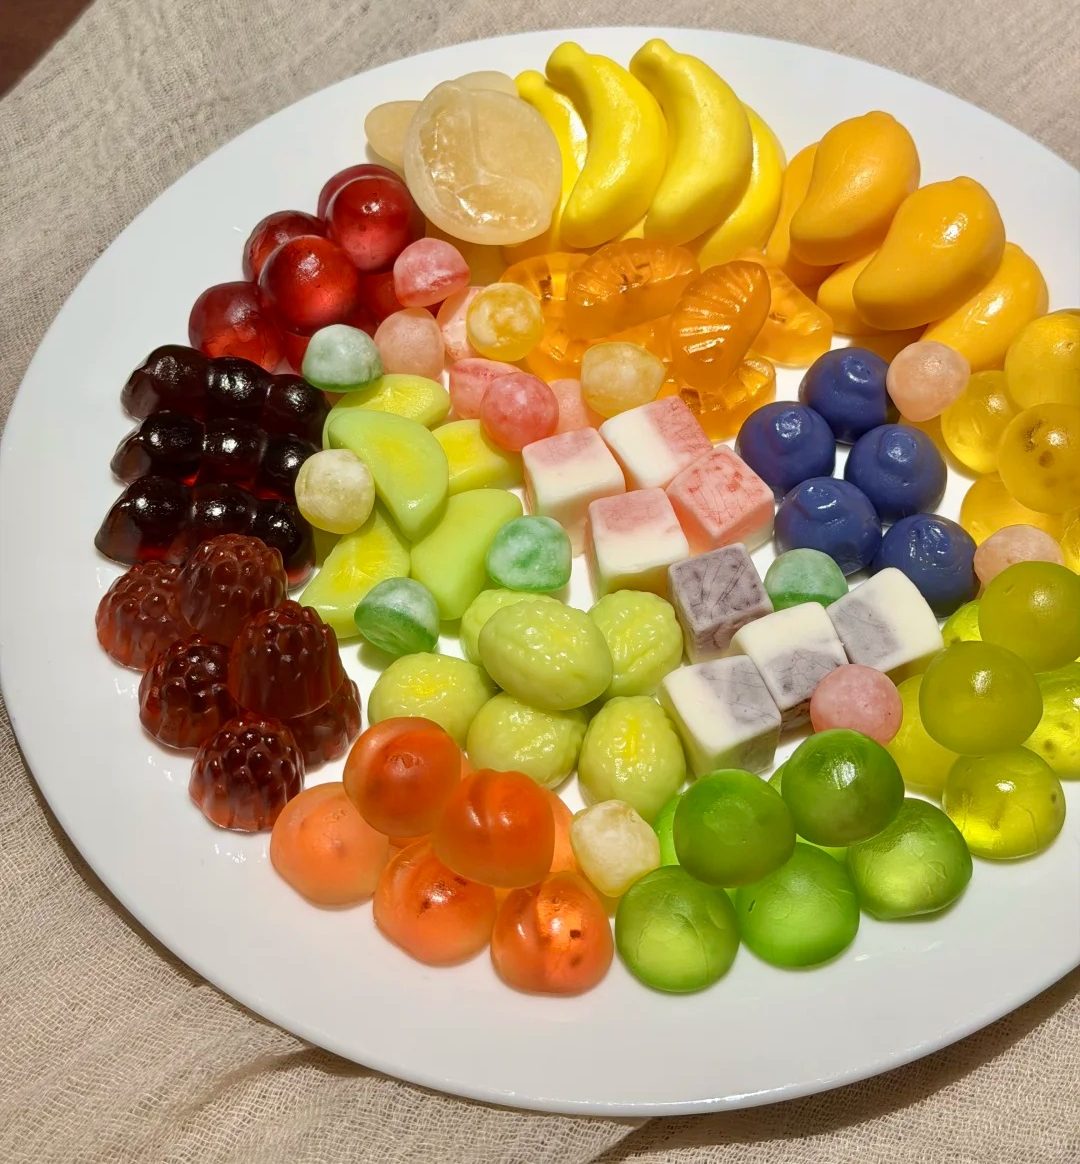
2. Choose a Bag Style That Fits
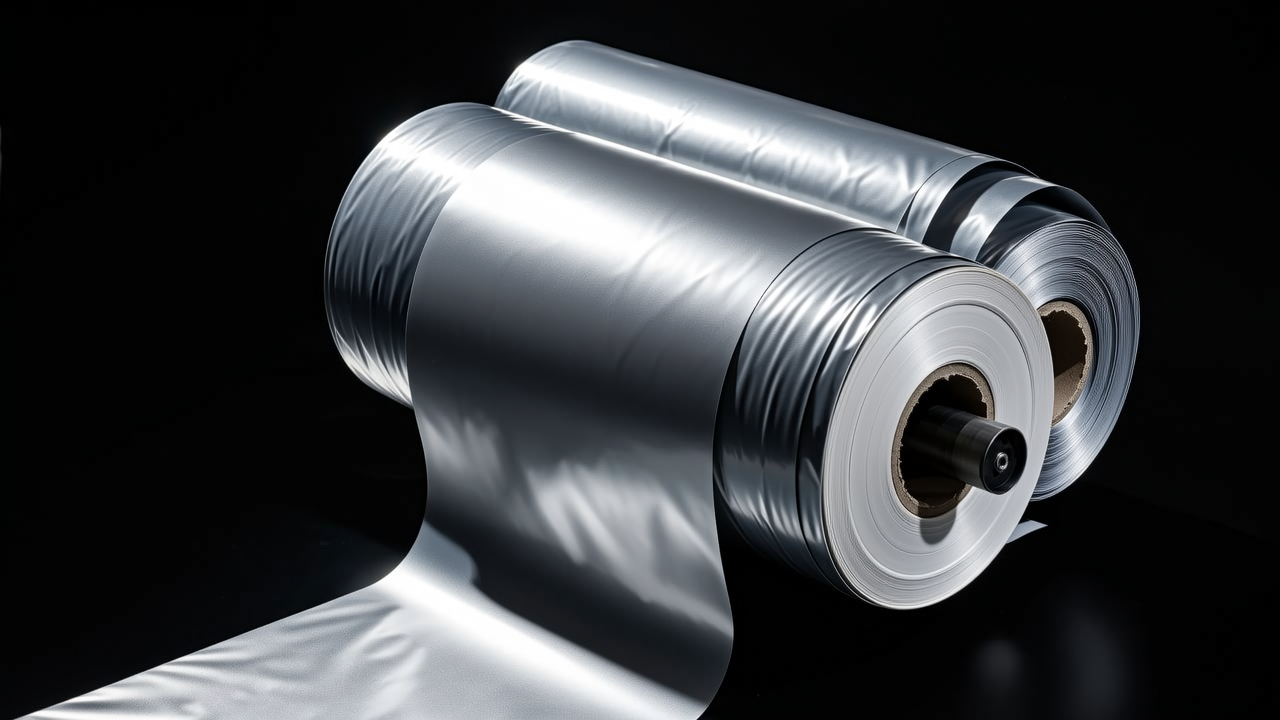
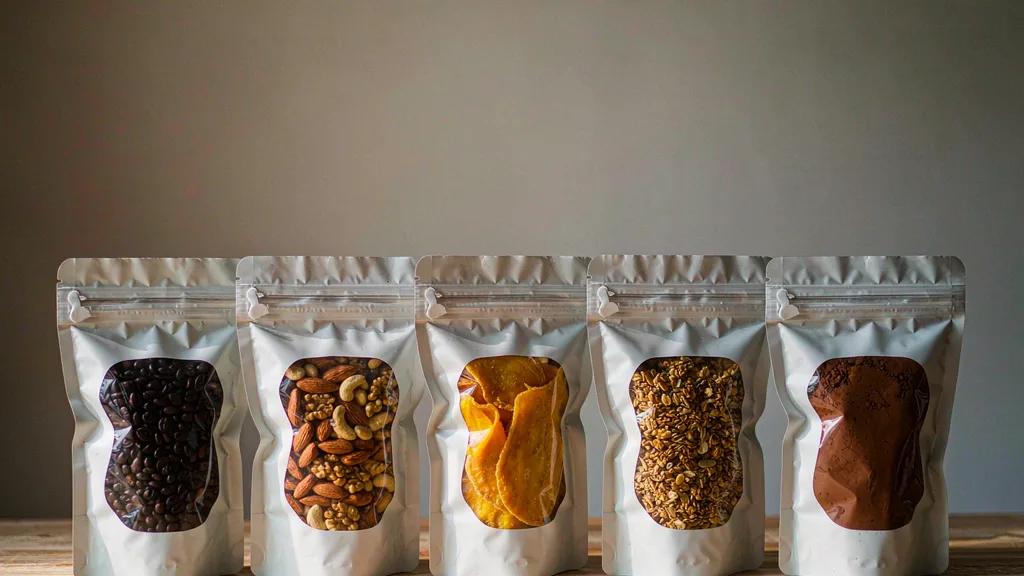
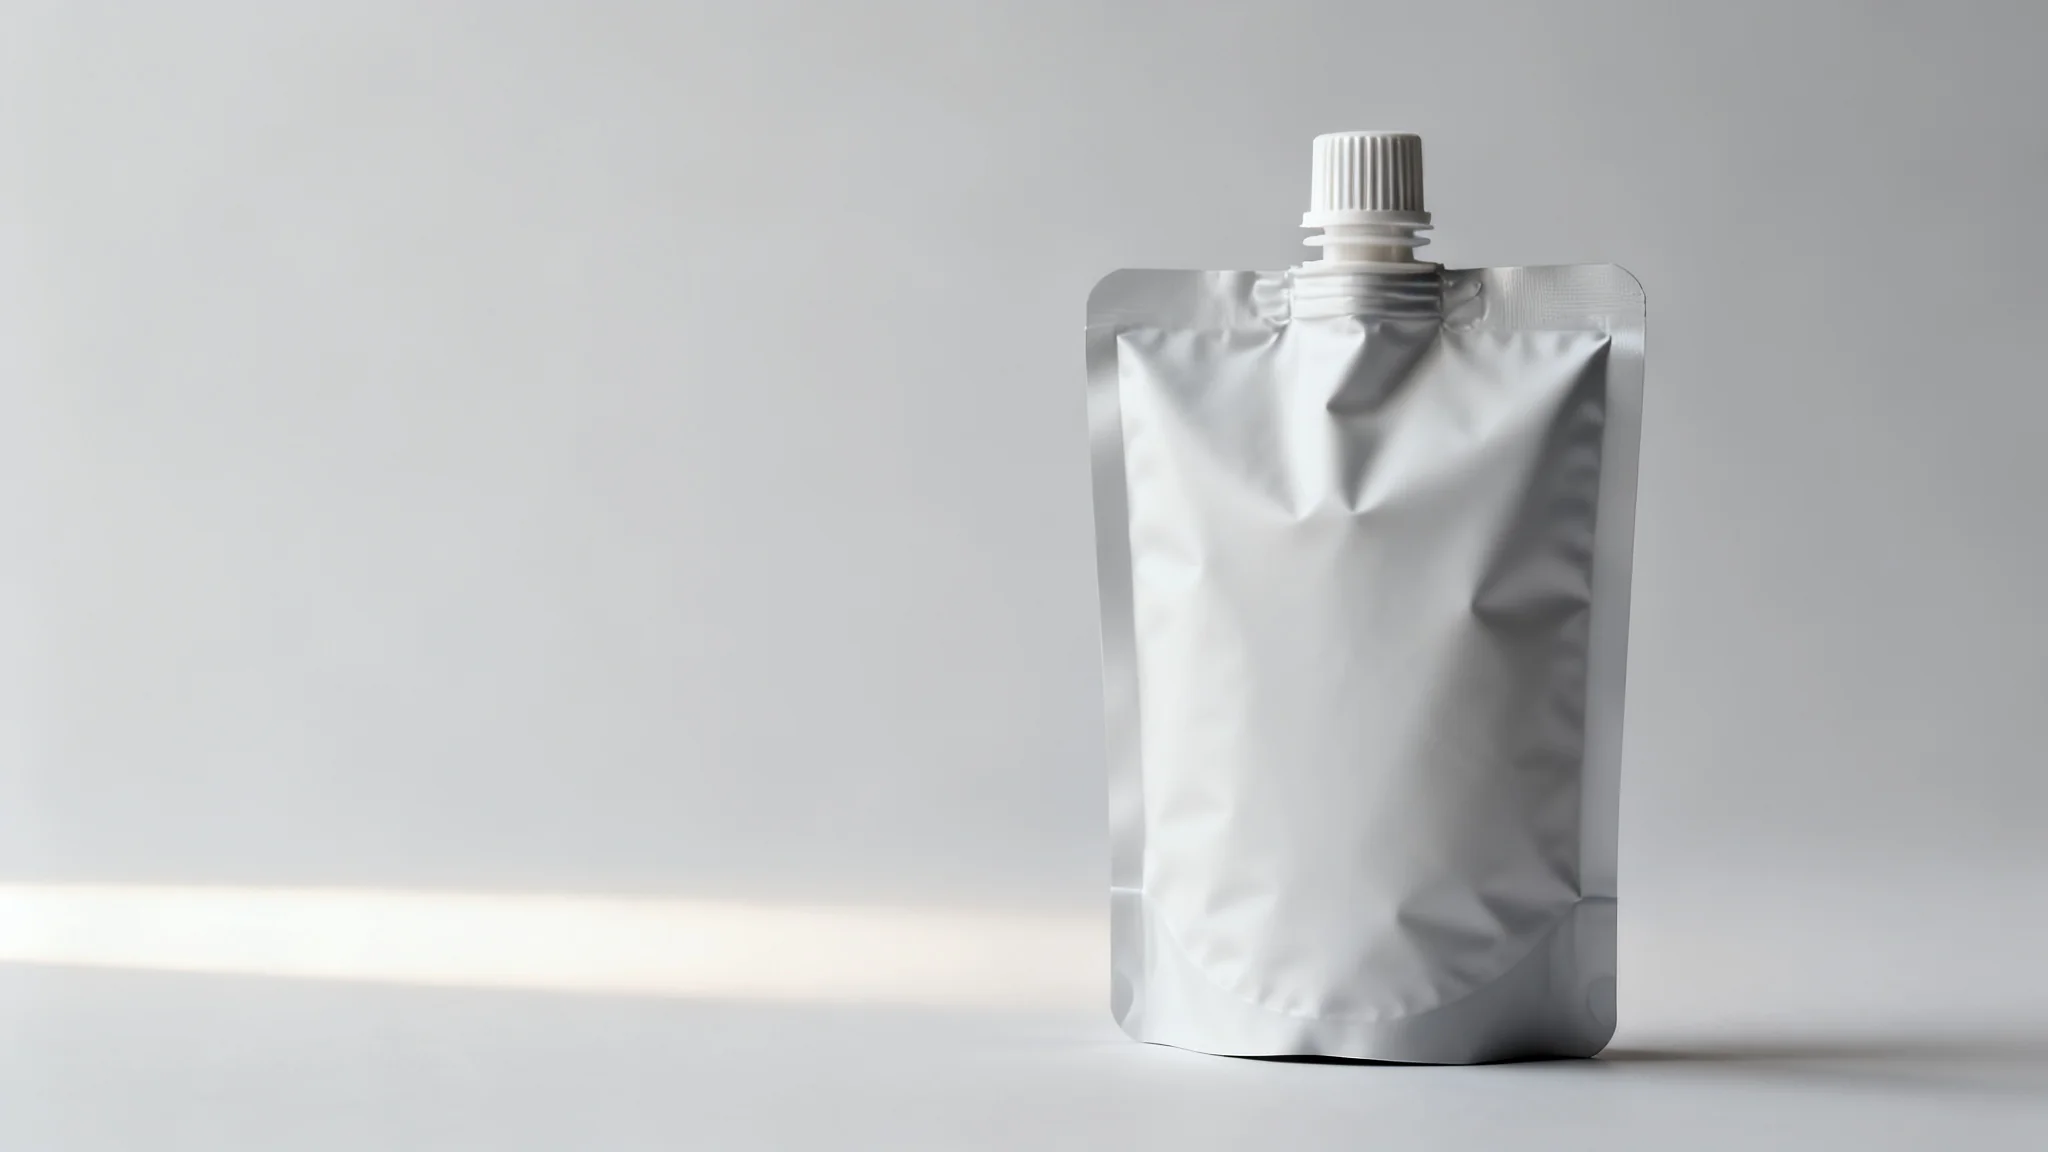
Stand-up pouches work well for shelf displays and offer plenty of space for branding. Flat-bottom bags provide a stable base and can suit larger packs or gift products. If your candy is packed on automated equipment, rollstock film may be a better fit, depending on the machine.
A resealable zipper is useful when customers are likely to eat the candy over several occasions. For a single serving, a smaller, simpler pack may be more convenient. The best format is the one that works for your product, packing process, and customer.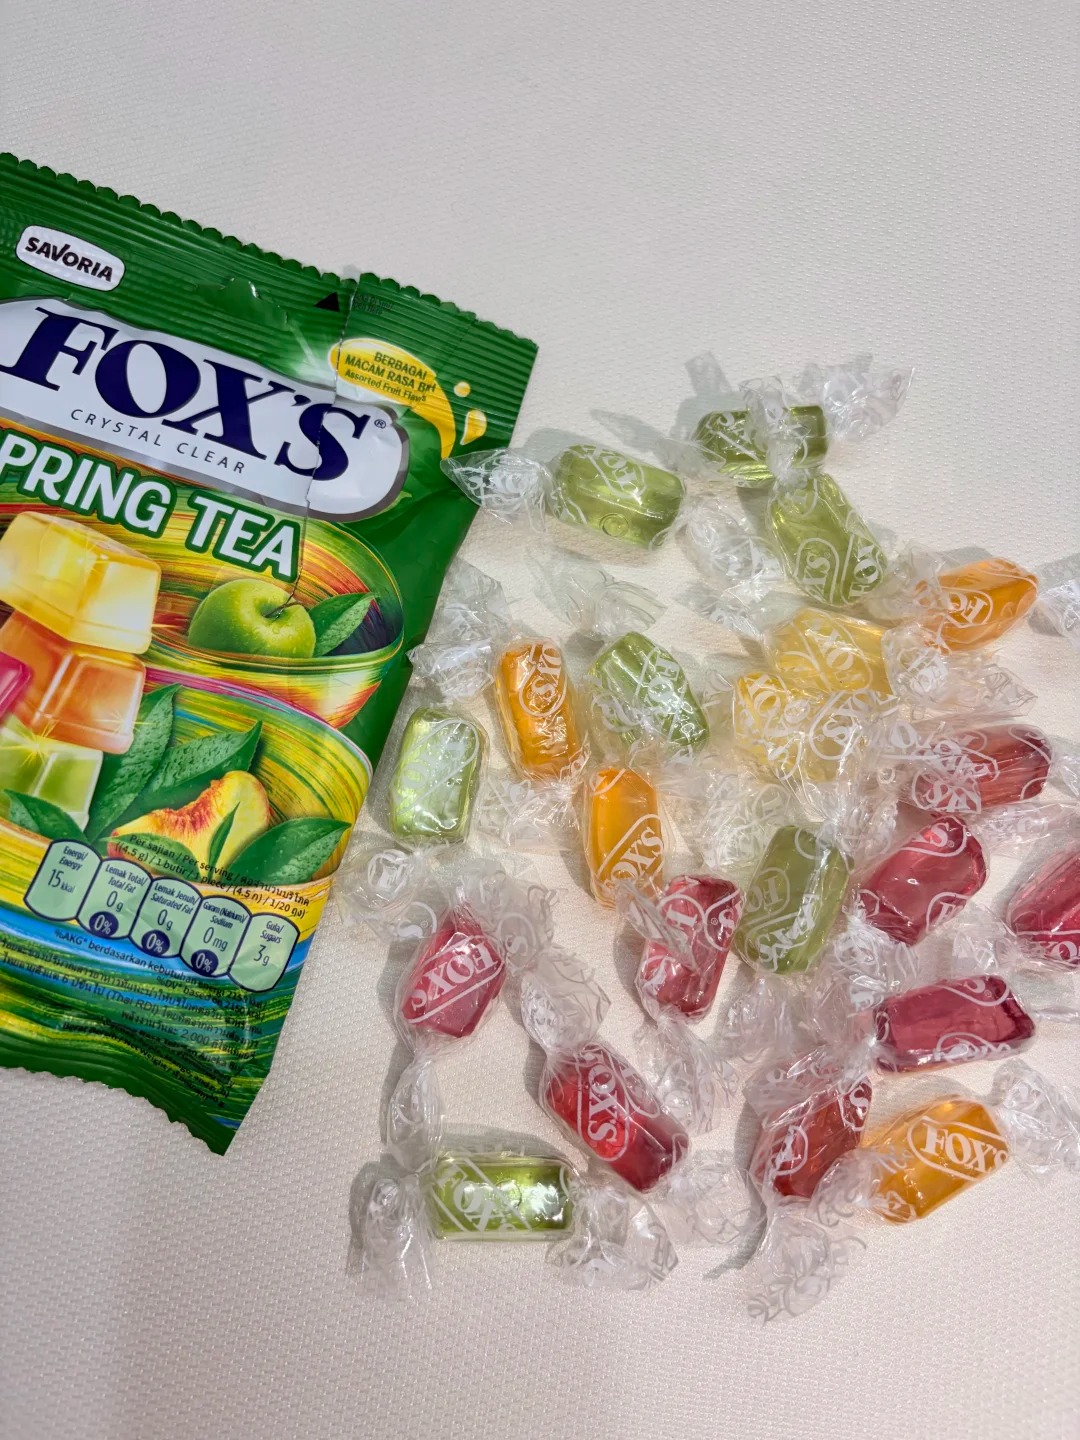
3. Match the Material to the Product
Choose packaging materials based on the protection your candy needs. Moisture, light, and odors can affect different products in different ways, so confirm the required barrier performance through packaging tests.
A clear window can show off colorful candy, but it may not suit products that need protection from light. If recyclability matters to your brand, check the complete packaging structure and the recycling options available where the product will be sold. Materials that touch the candy should also meet applicable food-contact requirements.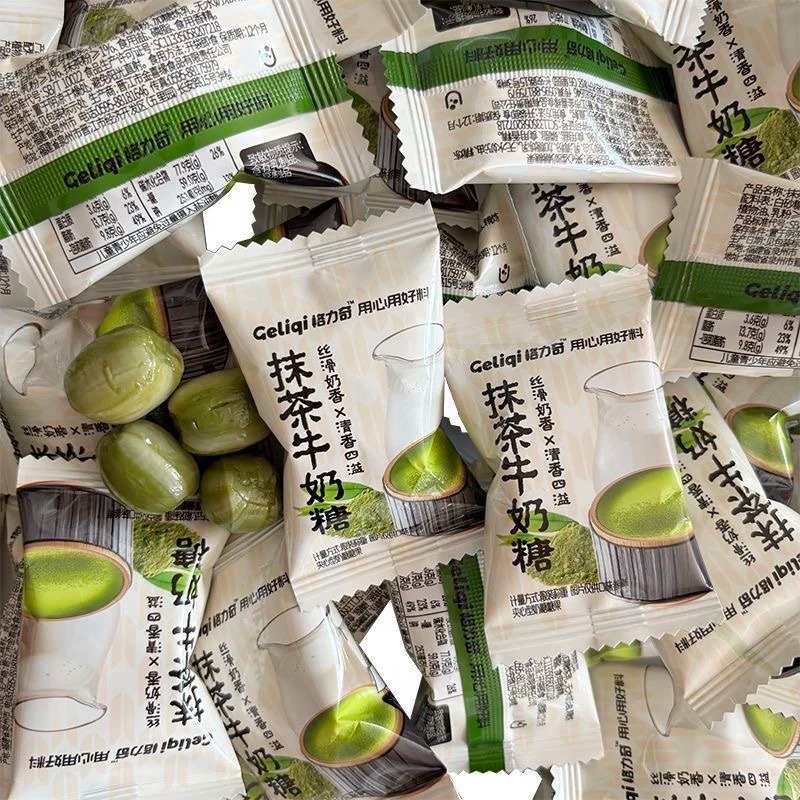
4. Test the Size with Real Candy
Weight alone does not tell you how large a bag should be. Two candies with the same net weight may take up different amounts of space because of their shape and size.
Fill a sample bag with the actual product. Check that there is enough room to seal it, that it stands as intended, and that customers can reach the candy comfortably. If the product will be shipped, consider how the filled bag holds up during transport.
5. Make the Design Attractive and Easy to Read
The front of the bag should make the brand, product name, and key features easy to spot. Colors and illustrations can communicate flavor and personality, but they should not compete with essential information.
Use the back of the pack to organize ingredients, net weight, storage instructions, and other information required in your sales market. A short brand story or serving idea can add character while keeping the layout clear.
For seasonal editions, consider changing selected colors or graphics while retaining the elements that make your brand recognizable.
6. Review a Physical Sample Before Production
A design on screen cannot show exactly how the finished bag will look or feel. Before placing a full order, inspect a physical sample filled with your candy. Check the print quality, seal, opening, and any resealable features. It is also worth seeing how the bag looks after handling and shipping.
The most effective custom candy bag balances product protection, brand presentation, convenience, and cost. Define the product’s needs first, then choose the structure and materials before finalizing the artwork. That sequence makes it easier to create packaging that works beyond the first impression.
Conclusion
The right candy bag brings together product protection, convenient use, and a design customers will remember. Start with your candy’s needs, test the size and structure with real products, and review a physical sample before production. If you’re planning custom candy packaging, contact OMOPACK to discuss your product, packaging goals, and design ideas.