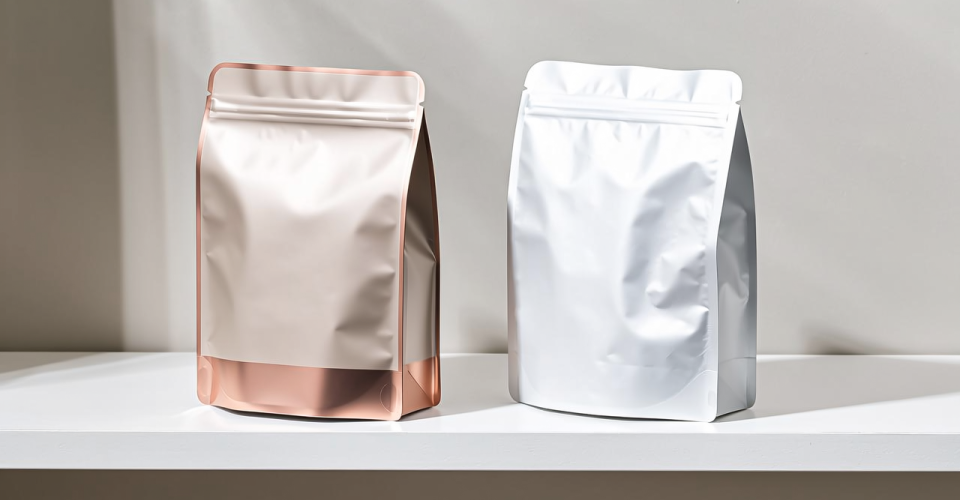
A product packaging upgrade is one of the most effective levers a brand can pull, yet many brands get the timing or the execution wrong. Change too early and you waste existing inventory and consumer recognition; change too late and your product disappears on the shelf while competitors take over. And a badly executed redesign can do real damage, confusing loyal customers and frustrating retail partners. A packaging upgrade is not just a new artwork file; it is a system project involving positioning, budgeting, structural design and supply chain coordination. Based on years of working with brand owners at our factory, this guide explains when to upgrade your product packaging and how to run the project without costly mistakes.
Five Signals That It Is Time to Upgrade
Compare your situation against these five signals; if three or more apply, a packaging upgrade deserves serious consideration. First, the current design is more than three to five years old and looks dated next to newer competitors. Second, competitors have recently redesigned their packaging and your product no longer stands out on the shelf. Third, the recipe or product format has changed and the old pack cannot communicate the new selling points. Fourth, consumer feedback focuses on usability problems such as “hard to open” or “unclear what the product is.” Fifth, cost pressure is building and a structural or material change could reduce packaging spend. Brand repositioning, entering new channels such as e-commerce, and new regulatory requirements are also common triggers.
Preparation: Positioning and Budget
Before any design work starts, answer three questions. What is the core problem this upgrade must solve: shelf impact, premium perception, usability, or cost reduction? Who is the target consumer and what do they value? What is the budget ceiling and how much additional unit cost can the business absorb? Unclear positioning is the number one cause of failed redesigns; trying to look premium while refusing any cost increase usually produces a design that satisfies nobody.
Budgeting should follow a total-cost principle. A packaging upgrade includes not only design fees but also plate and tooling costs, prototyping, disposal of old packaging stock and trial production losses. Separate these one-time costs from the unit price change so the real investment is visible.
Design Directions: Structure, Material and Visuals
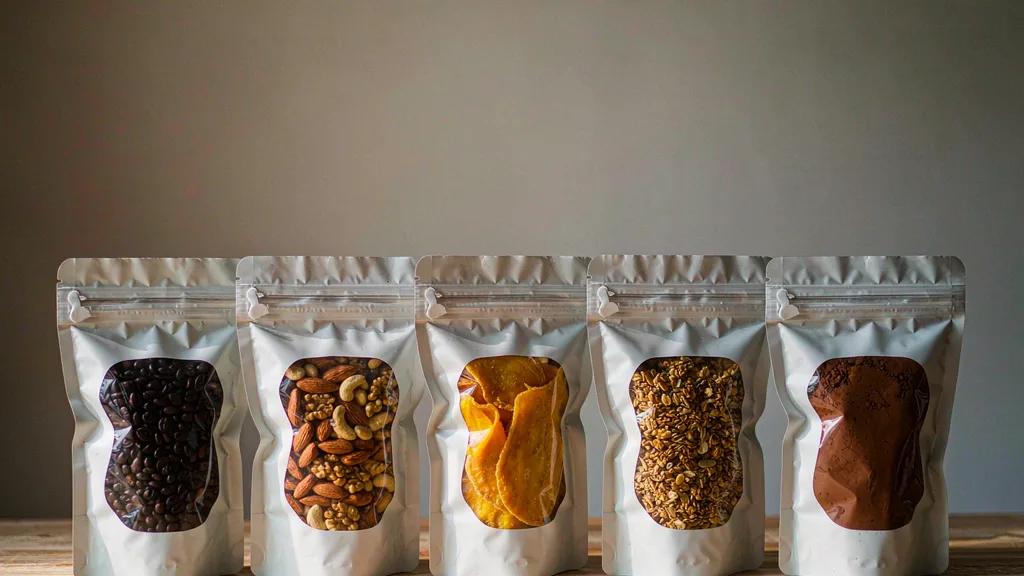
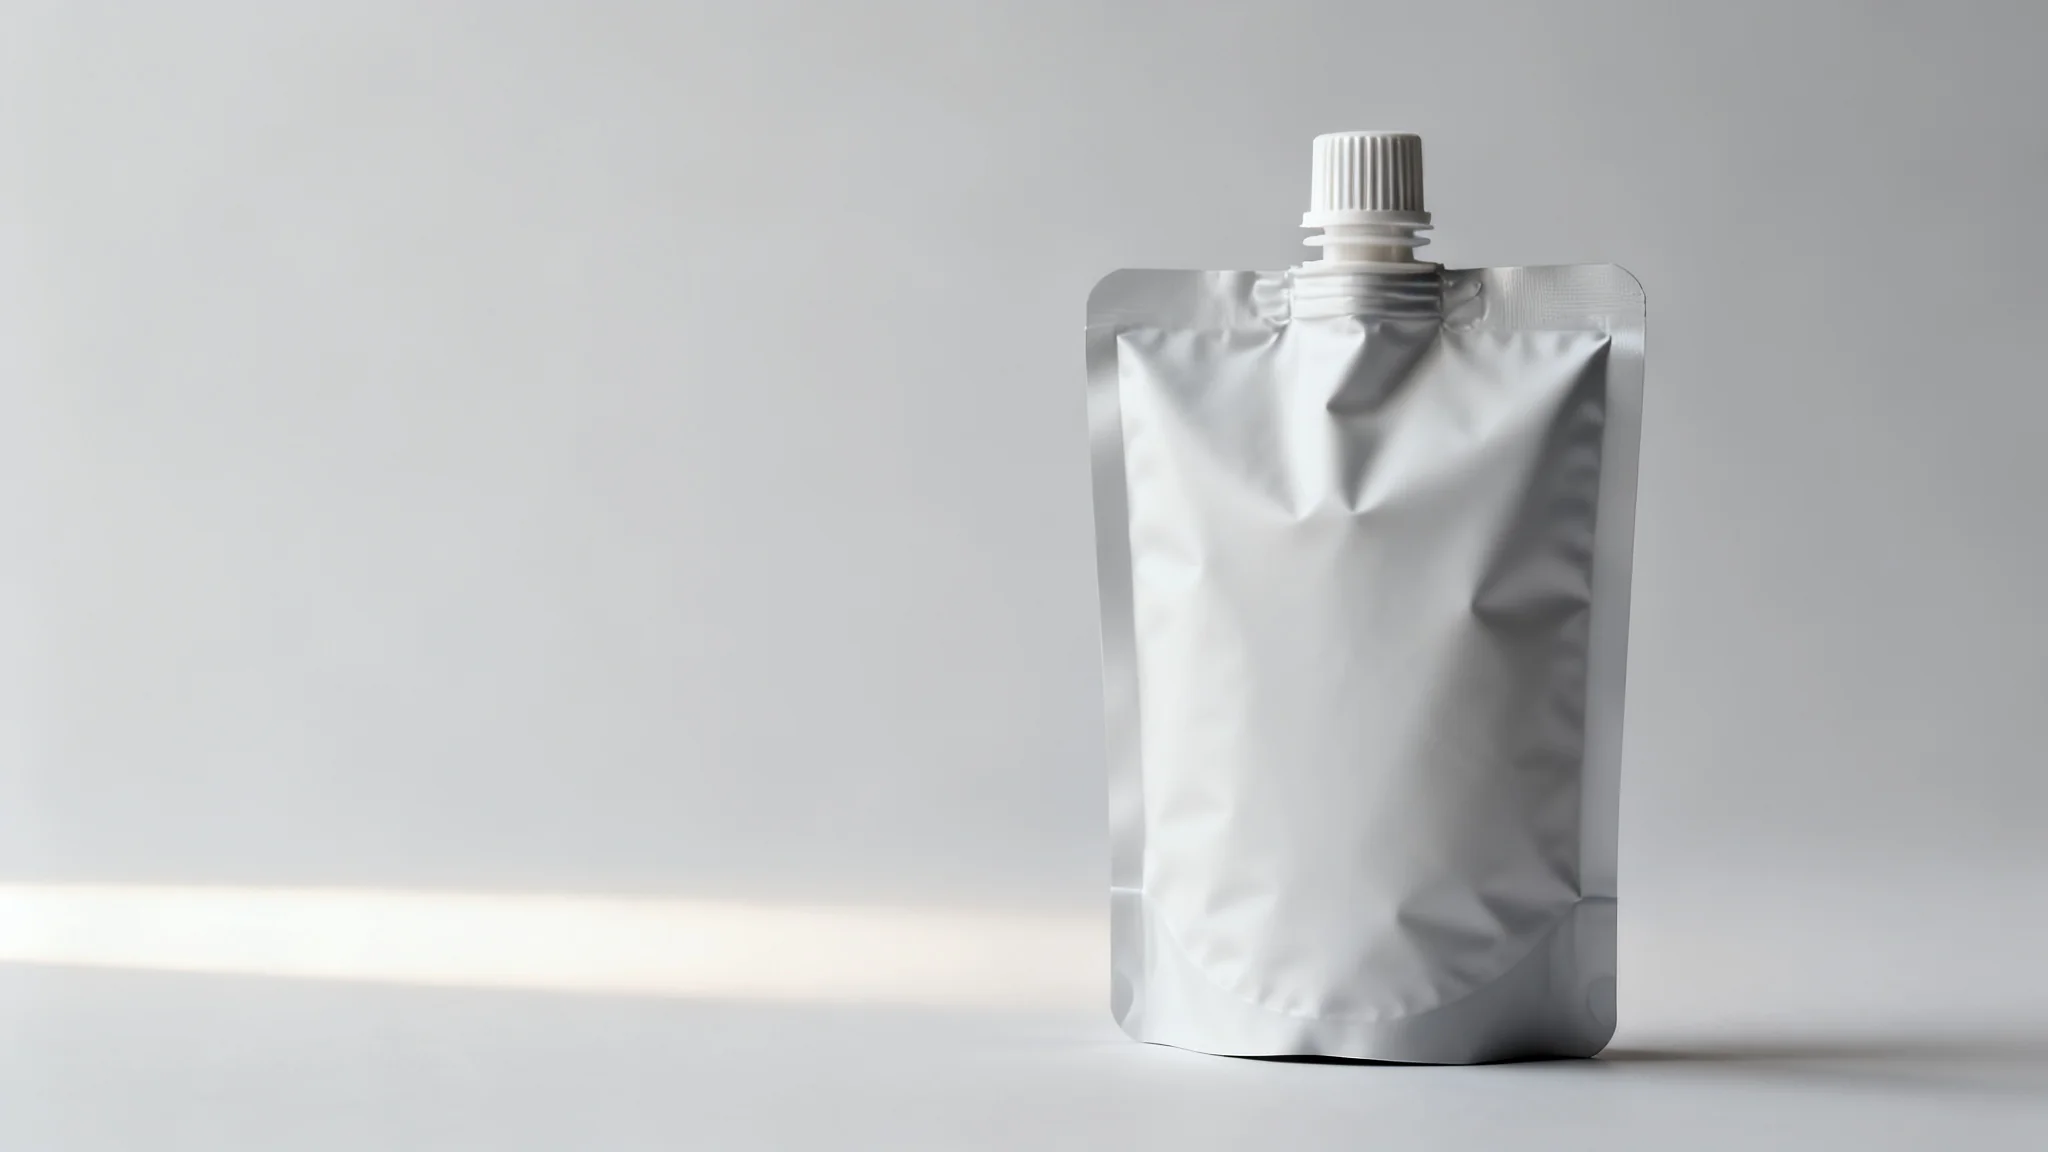
Upgrades typically move along three dimensions. Structure: switch from a flat three-side seal pouch to a stand-up pouch or eight-side seal bag to improve shelf presence and convenience, or add functional elements such as zippers, spouts or easy-tear notches. Material: change the film structure, for example adding a barrier layer to extend shelf life or moving to recyclable mono-material to answer sustainability pressure. Visuals: refresh colors, layout, information hierarchy and typography so the pack is more recognizable at a glance.
Structural changes usually deliver higher returns than a cosmetic refresh, but they carry more risk because tooling and process adjustments require longer validation. A safe sequence is to lead with the visual refresh for quick results and introduce structural improvements in the next iteration. Brands that want to understand how design translates to e-commerce shelf impact can learn from our guide to elevating small-brand packaging.
Execution: Prototyping, Testing and Supply Chain Coordination
Design approval is only the beginning. The first step is physical prototyping: new materials and structures must be tested for heat seal strength, seal integrity, compression resistance and color accuracy; never judge a design from renderings alone. The second step is consumer testing: distribute a small batch of samples and collect feedback on the opening experience, zipper function and overall impression, because problems are cheapest to fix before launch. The third step is production validation: run a trial on the actual production line, confirm process parameters, and approve first articles before mass production so that samples and final goods match.
On the supply chain side, give the factory enough time for prototyping and trials. A new structure typically needs four to six weeks from sampling to mass production, and peak seasons require even earlier scheduling. If the printing method changes, color performance must be re-evaluated; our comparison of digital printing versus traditional printing explains the trade-offs.
Cost Control and Rollout Rhythm
The core principle of cost control is to move in stages with the option to step back. Split the upgrade into two phases: phase one refreshes visuals and information, which is fast and inexpensive and can be switched on as old stock sells through; phase two decides on structural changes based on real market data from phase one. Use the opportunity to simplify the SKU portfolio: consolidating sizes and variants reduces tooling and plate costs, and the savings can be reinvested in hero products. During the transition, plan an overlap period between old and new packaging to avoid confusing channels with two different looks for the same product, and make sure e-commerce listings show the actual new pack.
Summary and Recommendations
A product packaging upgrade works best when it is treated as a coordinated project: catch the timing, clarify the positioning, lead with visuals, validate thoroughly and control the rollout rhythm. Done well, the redesign becomes a genuine driver of sales and brand value instead of an expensive gamble. OMOpack has supported many brand owners through packaging renewal projects, from material and structure recommendations to sampling and mass production. Contact our team to discuss your upgrade project.
Visit OMOpack.com for more packaging knowledge and industry insights.