A wet pet food pouch rarely fails in the retort itself. It fails later, on a warehouse pallet or in a customer’s bowl, because fat and gravy reached the seal area before the jaws closed, and the heat cycle finished the job by softening a contaminated weld. This article walks through that failure path for a wet pet food pouch program: how oil and gravy contaminate the seal, what retort heat does to a compromised bond, which film structures usually carry the load, and where leaks actually start in practice.
The focus is product risk, not a full line design. For filling parameters and batch records, pair this with your process documentation and a line-side seal check plan. Background on materials for pet food packs sits in our pet food packaging materials guide, and the thermal side of pouch sterilization is covered in the retort pouch 121°C sterilization guide.
How Do Fat and Gravy Reach the Seal Zone?
Wet recipes leave liquid and oil on every surface they touch. During dosing, gravy films the inner walls; during settling, fat separates toward the headspace; during transport to the sealer, a tilt moves that film into the seal band. A single contaminated strip is enough. Oil acts as a release layer between sealant surfaces, so the polymer cannot fuse into a continuous weld even when temperature and dwell look normal on the HMI.
Chunky gravy is worse than a thin broth. Solid pieces hold liquid against the film until the jaws close, then squeeze sideways into the seal. If the fill weight is high and the headspace is small, that squeeze has nowhere to go except the seal interface. Operators often see a shiny streak on open rejects and call it a “dirty seal.” The shine is the product; the leak path is the unfused polymer around it.
Wipe systems and angled fill spouts reduce how much product reaches the band, but they do not remove the need for a sealant that tolerates a thin oil film. Specifying only “retort grade” without a contaminated-seal trial leaves that risk untested.
What Does Retort Heat Do to a Contaminated Seal?
Retort heat is not a second chance for a bad seal. Under temperature and pressure, a clean sealant bond usually gains strength as the polymers finish their weld. A contaminated bond does the opposite: residual oil migrates, the weak bridge softens, and microchannels open along the grease line. Bags that passed a dry squeeze test at the sealer can balloon or weep after the cook.
Thermal load also changes the film. Outer layers shrink, sealant viscosity drops, and any trapped moisture or gravy flash into vapour that pushes against the weakest line. Corner seals and T-junctions see the highest stress. That is why leak maps from wet pet food often cluster at corners rather than mid-seal, even when the contamination started as a mid-band streak.
Process windows published for dry or low-fat fills do not transfer. A wet pet food pouch needs its own confirmation: same film, same jaws, same cook curve, with deliberate contamination samples in the trial set.
Which Film Structures Carry Fat and Heat Best?
Most commercial wet pet food pouches still rely on foil or high-barrier metallized stacks when ambient shelf life is measured in many months. The outer print web takes abuse; the barrier layer limits oxygen ingress after cooling; the inner sealant must seal through light oil and survive the cook. Candidate sealant directions include thicker cast PP and specialized retort sealants designed for higher hot-tack, but each must be confirmed against your gravy, chunk size and cook schedule rather than taken from a generic data sheet.
Transparent retort structures without foil exist for brands that want product visibility. They trade barrier margin and sometimes seal forgiveness. If the brand needs both visibility and long ambient life, expect a tighter process window and more aggressive incoming film checks. Our overview of pet food packaging solutions lists where pouch formats usually sit against cans and trays for wet recipes.
Food-contact compliance for every layer should be mapped before sampling. In the EU, Regulation 10/2011 and the supporting evaluations summarised by EFSA on food contact materials are the usual reference frame; a supplier should map grades layer by layer, not only quote the finished laminate name.
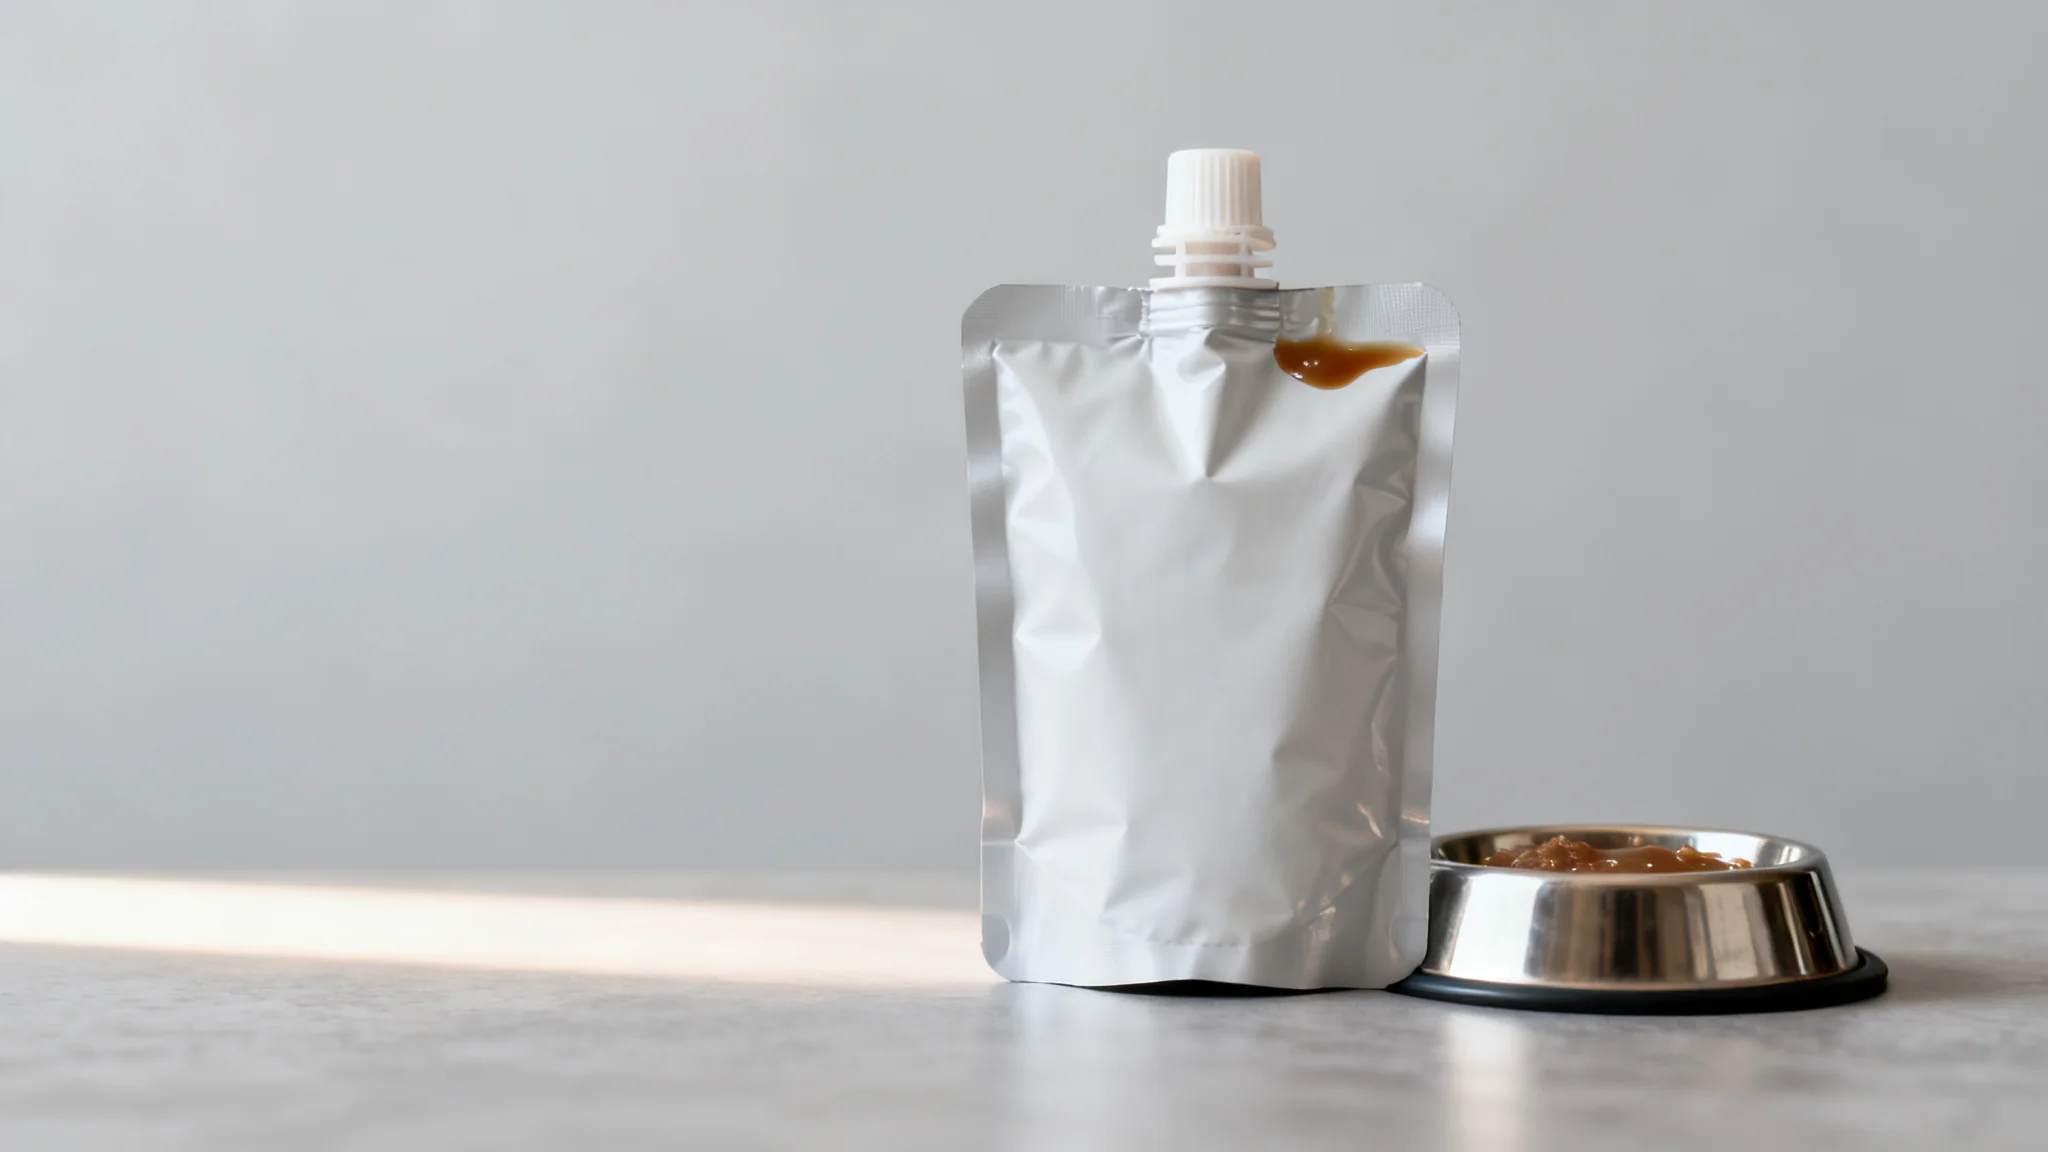
Concept packaging visual generated for editorial use. Not a customer project, not a tested structure.
Where Do Leaks Start in Practice?
| Location | Typical trigger | What to check first |
|---|---|---|
| Top seal mid-band | Gravy film or fat streak in seal zone | Fill angle, drip, jaw wipe, sealant grade |
| Seal corners / T-joints | Thermal stress plus residual oil | Corner geometry, cook pressure profile, sample after cook |
| Side seal near fill level | Product splash during dosing | Fill nozzle height, pulse timing, pouch opening control |
| Spout or fitment weld (if used) | Fat at weld interface or under-weld | Weld parameters, cleaning, leak test method |
Water-bath or vacuum-leak checks after retort catch many of these. They do not replace a contaminated-seal trial before you freeze the film specification.
What Scope Does This Wet Pet Food Pouch Guide Cover?
This applies to ambient or chilled wet pet food in flexible pouches that see a thermal process after sealing, including gravy-heavy chunk recipes and pate-style fills that leave oil on the film. It assumes you can control fill weight, headspace and sealer settings, and that you will run a cook validation with the commercial film.
It does not cover aseptic cold-fill wet packs, cans, trays with separate lids, or dry kibble. Programs that sterilize in the pouch at conditions far outside your supplier’s stated window need a separate materials review before any seal discussion.
Conclusion: Confirm the Wet Pet Food Pouch Before You Lock Specs
- Lock recipe oil level, chunk size, target fill weight and cook curve in writing before requesting film samples.
- Run seals on clean film and on film deliberately wiped with the actual gravy; compare strength and leak rate.
- Cook both sets through the commercial retort profile; inspect corners and mid-seals after cooling, not only at the sealer.
- Check barrier and sealant certificates against the cook temperature you actually run, including any overshoot.
- Keep retain pouches from the trial lot through distribution simulation and open them on a schedule that matches your shelf-life claim.
Regulatory context for pet food labeling and safety expectations in the US is summarised on the FEDIAF nutritional guidelines; packaging decisions still need your own process validation.
Frequently Asked Questions
Does a wet pet food pouch always need a foil layer for ambient shelf life?
No. Foil remains common when ambient life is long and oxygen sensitivity is high, but transparent retort stacks are used when visibility matters and the barrier plus process window still meet the shelf-life target. Decide from measured transmission data and cook trials on the actual laminate, not from the structure nickname.
Why can wet pet food pouches pass seal checks and still leak after retort?
Because contamination and heat interact. A grease film can leave a weak bridge that still looks closed at the sealer; retort temperature softens that bridge and vapour pressure opens a channel. Always include post-cook leak checks in the trial, not only pre-cook pull tests.
How much headspace should a gravy-filled wet pet food pouch keep before sealing?
Enough to avoid forcing product into the seal during closing, and little enough to keep pouch geometry stable in the retort. The exact range depends on fill weight, pouch size and cook pressure; set it by trial with your gravy rather than copying a dry-fill number.
What is the fastest practical way to screen sealant grades for oily wet pet food?
A paired trial: identical jaws and dwell, clean seals versus seals wiped with production gravy, then the commercial cook. Rank grades by post-cook leak rate and residual strength, not by brochure hot-tack alone.